How To Send An Image To The Back In Google Docs
🕐 1 Jul 23
In this article we will show you how to send an image to the back in google docs, a distant method through which you can send an image to the back in Google Docs using Google slide, MS Word for simply using the drawing tool.
In this article, we will discuss how you can send the image to the back in Google Docs by using the drawing window.
The benefit of this method is that you don't need to go through any of other applications for the image editing. You can easily send the image back within Google docs.
Step By Step Guide On How To Send An Image To The Back In Google Docs :-
- Open Google Docs on your PC
- Make sure you are logged in to your account.
- At the top of the Ribbon menu, there are certain tabs that can help you with other editing and formatting options.
- These tabs include file, edit, view, insert, format, tools, add-ons, and help.
- Click the Insert tab.
- The insert tab will show various options- Image, table, drawing, chart, horizontal line, date, footnote, Special characters, watermark, break, link, bookmark and others.
-
Click the drawing option.
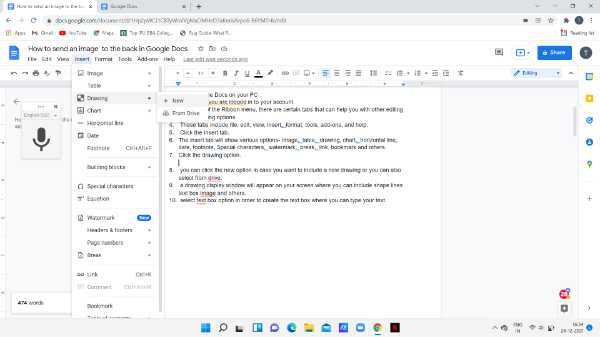
- You can click the new option in case you want to include a new drawing or you can also select from the drive.
- A drawing display window will appear on your screen where you can include shape lines text box images and others.
-
Select the text box option in order to create the text box where you can type your text.

- Now you need to enter the text in the text box. Users can either type the text in the text box created or can also copy and paste it from any external source.
- Now you need to upload the image that you want to send back in the Google docs.
- Click the image option from the toolbar placed at the top in the drawing display window.
-
You can select the image from your files, by URL, or by simply dragging the image.
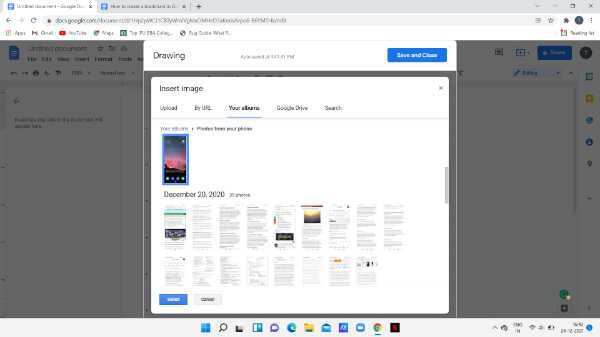
- Now you need to make sure that the image you have selected is is along with the text.
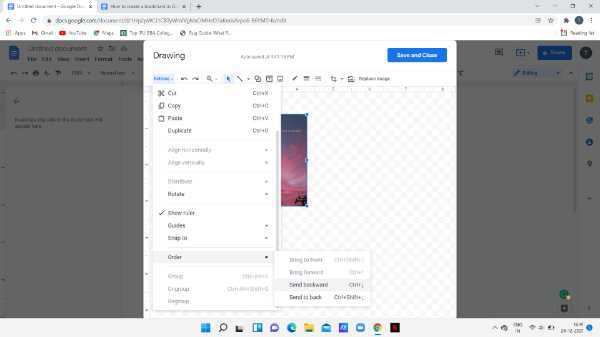
- Simply go to the actions menu placed at the top left corner of the drawing display window.
- The drop-down menu will show various options like group, cut, copy, guides, show ruler, duplicate, order, and other options.
- Search for the order option. The drop-down menu will appear on your screen with will show the options and backward and send to back.
-
Click the option to send backward.
-
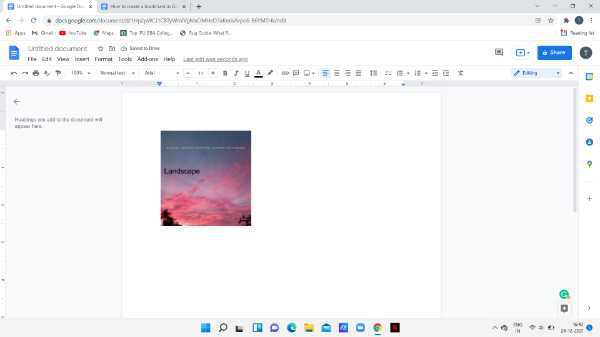
Now the image will appear at the back of the text.
Conclusion :-
I hope this article on how to send an image to the back in google docs helps you, in this article we covered an essential guide.


