

In this article we will show you how to layer images in google docs, Google docs is a tool used by professionals all over the world. It is used by teachers to assign projects, make reports, etc.
It is used by students as well. Most of the corporate houses use Google docs to make official documents, presentations, etc.
It allows you to make your document wholesome and professional with the help of its various features and tools like the option to add text, images, etc.
But at several occasions, you will find that the default display of the image obstructs the main text body of the document.
Thus, it is important to place the image as per your liking and preference. Follow the steps as explained below and you will be done in no time.
Step By Step Guide On How To Layer Images In Google Docs :-
- Open your laptop, PC or mobile phone. Now there are two ways to open Google docs.
-
One way is to access it via the Drive. In the alternate case, you can click on the ‘Grid’ icon at the top right corner of the home page of Google web browser.
-
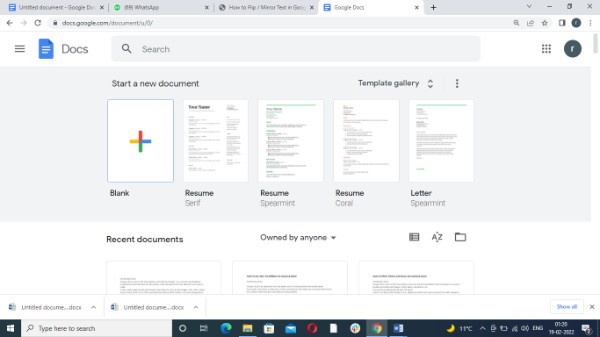
In the next step, you will be asked to either open a blank document or a pre-existing one.
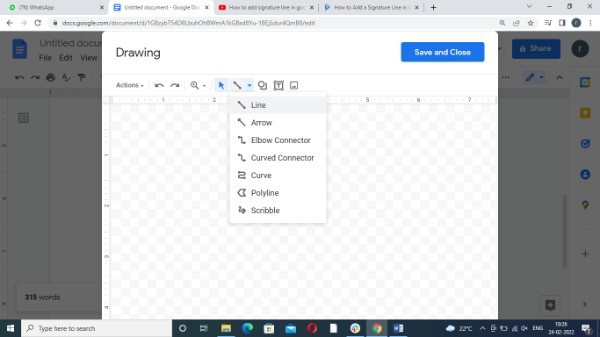
- To begin with, you will need to first add an image.
-
In order to do that, click on the ‘Insert’ icon from the panel. From the drop-down list that opens up, choose the ‘Drawing’ icon and then choose ‘New’.

-
From the new window that appears, click on the ‘Image’ icon. Now, choose the location from where you wish to upload it.
- Once you are done uploading all the pictures , the image will be displayed on your screen.
- After uploading all the images that you want to layer, all you have to do is move one image and place it on another image. You can also rotate the layered images.
-
When you are done, click on the Save and Close button. This will insert the final image into your Google Docs document.

- You can also layer images using Text wrapping. You will need to select the image you upload to the document. A panel of options will appear below the picture.
- From the options, click on the ‘Text wrapping’ icon from the panel.
- This will open a drop-down grid with several style options like breaking the line, in line, etc.
-
Choose the style of your liking.

- Repeat the steps to add more images. You can rotate or place the images as per your liking.
Conclusion :-
This is how you can move images in your Google docs. I hope this article on how to layer images in google docs helps you and the steps and methods mentioned above are easy to follow and implement.


