

In this article we will show you how to record voice on PowerPoint mac so that the people who are present at your presentation get involved for a good period of time. Hearing you explaining each slide by slide with someone's music can make your presentation more interesting.
It can be considered a text editing app that can be used to edit or create files using different tools.
You can insert pictures, links, use different fonts, etc. But there is one thing that WordPad lacks. You cannot create tables in it directly.
There is no option to add tables in WordPad. So, you need to use different methods to add tables in WordPad. One of the methods of inserting tables on Word is discussed in this article.
Step By Step Guide On How To Insert Table In WordPad :-
- Ensure that you have office excel installed on your device. Through it you can directly insert the spreadsheet on WordPad. It supports excel and open Document format.
-
Open the excel office application on your device.
- Open your WordPad application on the desktop.
- Go to the insert section on the home tab of WordPad.
- Click the insert menu from it.
-
A dialog box appears with Create new, create file option with different object type.
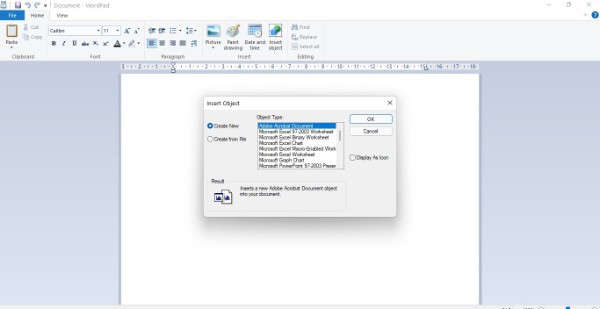
- Select open document spreadsheet from the object type list.
- Click on OK.
-
Once you do it, a blank spreadsheet is inserted in the WordPad.
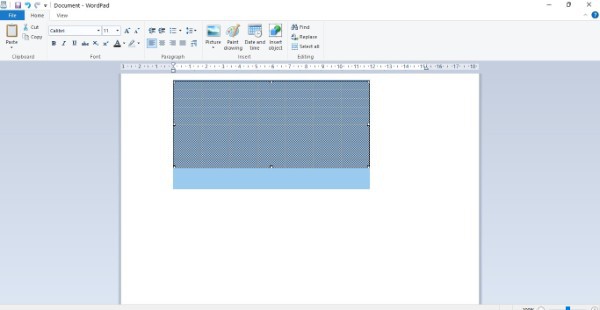
- Your spreadsheet program also opens in the other window.
-
Now, anything you write in your excel application will appear on the sheet inserted in WordPad.
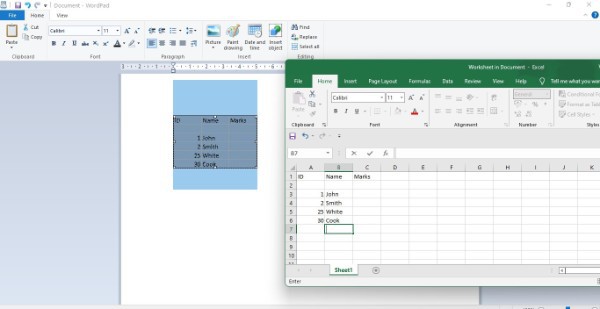
- Fill out your table with the required information.
- Initially you see a small range of cells on WordPad but as you expand your data, the range of cells also increases.
- Change the text format with the tools present in the spreadsheet.
- Also change the cell size through the editor based on your requirements.
- Close the excel spreadsheet application on the other window.
- Your final file with the required data appears on WordPad.
- To edit the table on WordPad, you can just double click on it.
- Move the table by dragging it using a cursor.
- Place the table at the required position of your document.
- Save the file.
- Close your WordPad application.
Conclusion :-
If you follow the above-mentioned steps, you can easily insert tables in WordPad and edit and input data however you want. It is one of the most effective methods of adding tables on a WordPad.
It is often that people don't have access to the required advanced applications like WordPress. It is because they require subscriptions after a certain point.
So using WordPad solves the issue with its free service and availability of many advanced features. With it you can do almost all the work you can do on WordPress and also generate a good result.
I hope this article on how to insert table in WordPad helps you and the steps and method mentioned above are easy to follow and implement.


