

In this article we will show you the solution of how to freeze top row and first column in excel, Microsoft Excel is one of the most popular applications used for working with spreadsheets, data and other kinds of operations.
In Excel, you may also be needing to work with large sets of data depending on the operation you are performing.
In that case, often you might need to lock certain rows or columns, so that you can view their contents even after working in a different page in Excel.
This thing can be done very easily by an operation, called the Freeze Panes command along with a few more features that are available in Excel.
In this article, we shall discuss about how we can freeze the top row and first column in Excel using the Freeze Panes panel.
Step By Step Guide On How To Freeze Top Row And First Column In Excel :-
You can freeze rows in Excel by following just few simple steps. In order to learn how you can freeze the first row in Excel, refer to the steps given below:
- Open the Excel spreadsheet you are going to work on.
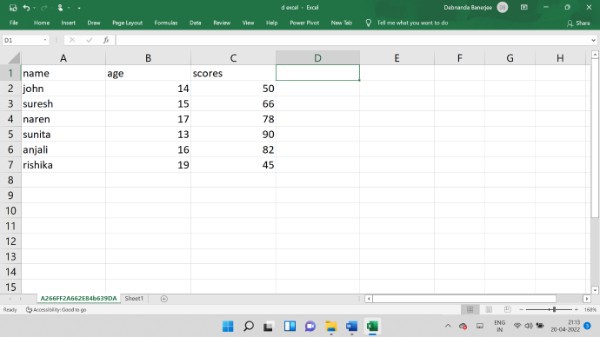
- Select the View tab in the top toolbar.
- A new drop-down menu with appear from clicking on that tab
- Then, navigate towards the Window group that is present under the View tab.
- Then, click on the Freeze Panes option. You will see that some new options have emerged from there.
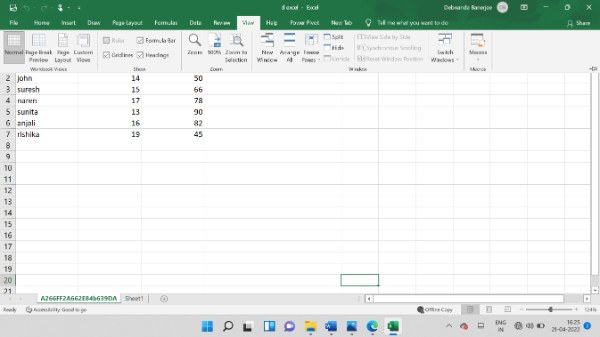
- Click on the Freeze Top Row option.

- You will then see that the top row has been frozen, which is observed by the dark grey line bordering the top row.
By following these couple of very simple steps, you can easily freeze the top row of your Excel sheet.
How to freeze first column in an Excel sheet:
Other than freezing the top row in Excel sheet, you can also freeze the first column of your Excel sheet very easily.
You can definitely freeze both rows and columns together in Excel, but you can also freeze them separately if that’s what you need to do.
Freezing the first column of your Excel sheet uses almost the same steps as the previous function.
If you want to learn how you can freeze the first column of your Excel sheet, follow the steps given below:
- Open your Excel spreadsheet that contains all the necessary data.

- Then, click on the File tab on the toolbar at the top of your screen.

- Then, navigate towards the Window panel.
- Click on Freeze Panes options. Once you click on that option, you will see some more options dropping down.
- Next, click on the Freeze First Column option.

- You will now see that the first column has been frozen, and it can be determined by observing a dark grey line bordering the side of the column.
Conclusion :-
By following these easy steps, you can now freeze either the top row or the first column, or both, according to your necessity.
I hope this article on how to freeze top row and first column in excel helps you and the steps and method mentioned above are easy to follow and implement.


