

In this article we will show you how to freeze second row in excel, Excel is used in many workplaces and other institutions for data keeping. It is one of the oldest ways of keeping official data for comparison or reference purposes.
Despite the availability of many other options of data keeping, excel has kept a stronghold in the market.
It is because of the good features and performance of the excel app. It has always been a concern that if the length of the data is long then it gets complicated in excel.
But the fact is with certain shortcuts and tricks, you can get the most out of excel. Knowing the tricks and shortcuts makes your excel experience smoother and easier.
The main focus of this article will be on understanding the steps to freeze the second row in an excel sheet.
It is an important trick to know if you are focused on comparison of data on excel. The steps for freezing the second row in an excel sheet is as follow.
Step By Step Guide On How To Freeze Second Row In Excel :-
- Open the excel app on your computer or mobile phone.
-
Scroll to make the second row visible as the top row of the sheet.
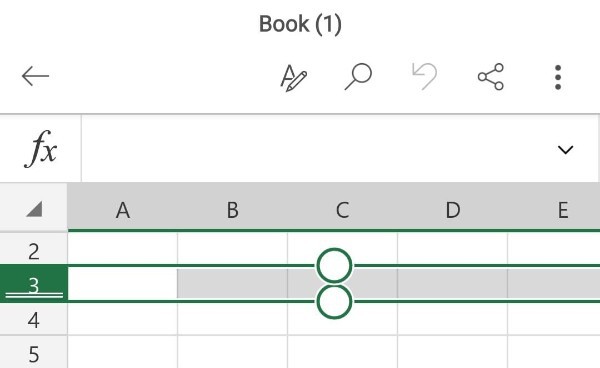
- Select the row immediately beneath the second row that you wish to freeze for comparison purposes.
-
Click the view tab on Ribbon. It is on the top portion of the sheet.
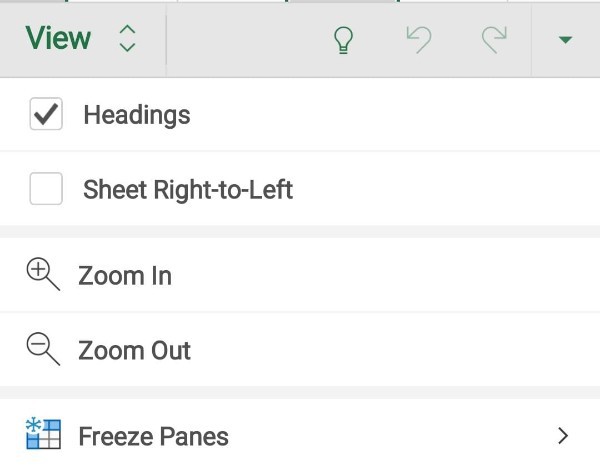
- On the view tab, select the Freeze Panes command. It will open a drop-down menu.
-
Choose the freeze panes command from the drop-down menu.
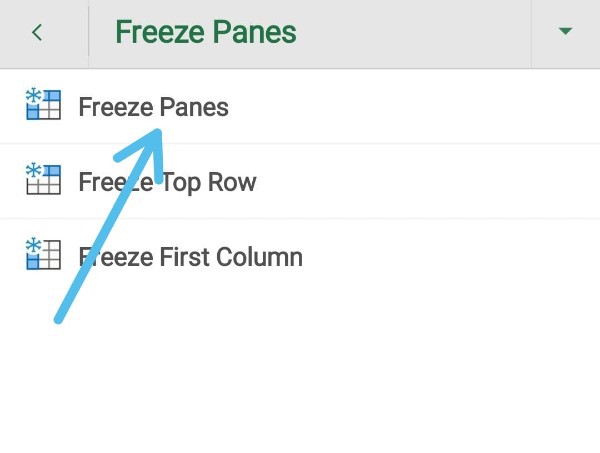
- Once done, the second row will be frozen in place. It will be indicated by a gray line.
- Scroll across the sheet to check if the second row has frozen. When you do then you will find that the second row is frozen. It will not move with the other rows.
Conclusion :-
There are separate options of freezing just the first row and column on the sheet. So, you can just choose that if you wish to freeze the first row and column.
Overall, it is an easy method of comparing data with the reference material frozen in place. Just follow the steps accurately so as to not do anything wrong on the sheet.
If you, do it according to the mentioned steps then you can easily freeze any number of columns and rows.
In conclusion, these steps are easy to execute and you just need to follow it to freeze the second row in excel. Moreover, you can follow the same steps to even unfreeze the second row.
So, make you work of data comparison easier with the above-mentioned trick. I hope this article on how to freeze second row in excel helps you to freeze the second row in you excel file.


