

In this article we will show you how to build a timeline in PowerPoint, a timeline is useful in order to stay on track and get information quickly. The user can easily see the date and task according to the time and it also creates a visual roadmap for the project.
There are different methods in order to insert a PowerPoint timeline into your presentation. A user can use the copy and paste, smart art, template for add-in.
In this article, we will discuss the steps to build a timeline in PowerPoint with the help of smart art.
The smart art is a built-in function of PowerPoint with help to add the timelines. The objects of smart are configurable graphics..
Step By Step Guide On How To Build A Timeline In PowerPoint :-
- Open MS PowerPoint on your PC.
- Create a new PowerPoint presentation or you can also open an existing one.
- Now click on the insert that is placed at the top of the menu bar. The insert bar shows various options like Slides, tables, images, illustrations, add-ins, , links, comments, text, symbols and media.
-
Look for the illustration section and click smart art.

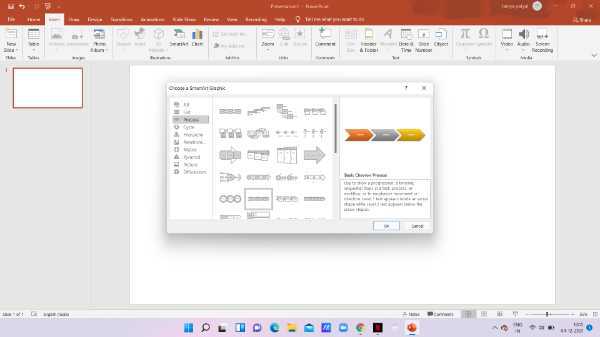
- When you click the option of smart art, a smart art graphic dialogue box will appear on your screen. on the left corner of the Dialogue box you will see various options like all, list, process, cycle, hierarchy, relations, matrix, pyramid, and picture.
-
Among all these options click processes on the left. Now you need to select the design for the timeline that you want to create in your PowerPoint.

-
Now you need to select the design for the timeline that you want to create in your powerpoint. In this article we have selected the basic chevron process as the design of the timeline. After selecting the timeline design press ok placed at the bottom of the smart art graphic dialogue box.
-
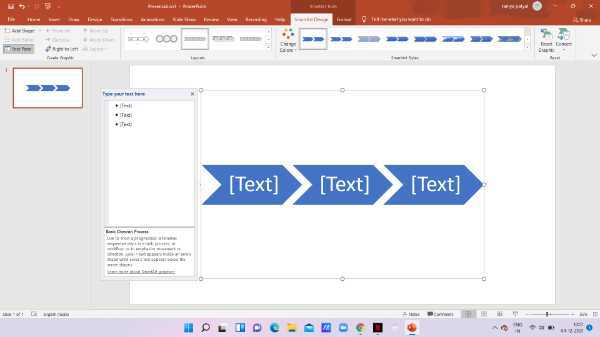
A new timeline will be created including three elements. now you need to name them according to the topic of your presentation.
-
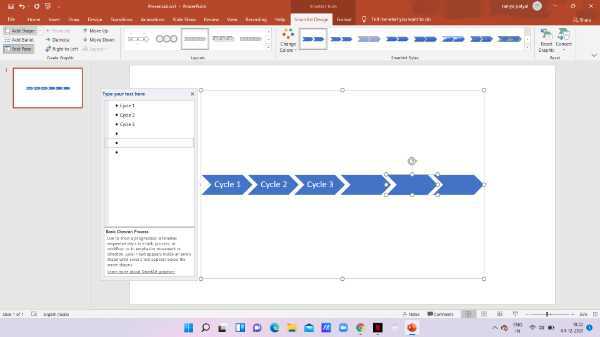
Fill up the additional text for your timeline. in case you want to include more sections in your timeline simply click add shape placed at the top panel.
-
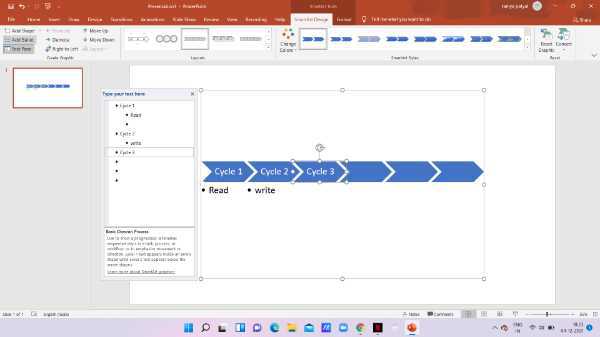
In your timeline, you can also include the bullets in your section. Bullets will be displayed vertically below the selected section.
-
In order to make your timeline look more presentable, you can also set the custom font resize the element or change the shape and colors of the element used to create the timeline.

Conclusion :-
I hope this article on how to build a timeline in PowerPoint helps you in this article, we covered an essential guide with the help of smart art. The steps mentioned above are called detailed and easy to follow.


