

In this article we will show you how to blur a portion of an image in PowerPoint, Microsoft PowerPoint is one of the most helpful tool in order to create presentations for professional and personal use.
Microsoft PowerPoint has a lot of built-in features like slideshow template animations. in PowerPoint we can also include images shape and smart art.
Some time we also required to hide a specific part of an image before including it to the PowerPoint.
In such cases we can blood the specific portion of the image in PowerPoint. PowerPoint does not have any direct command for the blur effect on the image however you can use a different shape to get this effect.
Step By Step Guide On How To Blur A Portion Of An Image In PowerPoint :-
- Open Microsoft PowerPoint.
- You can also create a new project or open an existing one in which you want to blur a portion of the image.
- After inserting the picture in PowerPoint you need to to cover it with a specific shape to give a Blur effect.
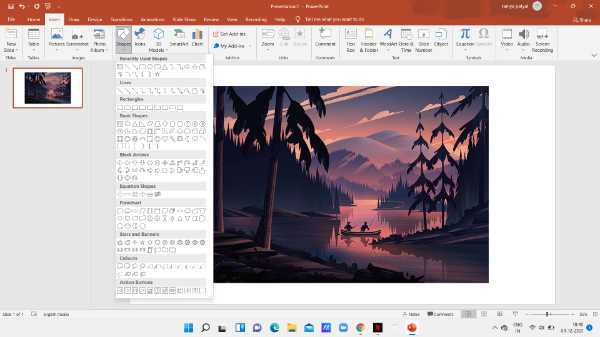
- In order to select the shape for the particular portion of the image again tab the insert tab is placed at the top of the menu.
- Click the shape option placed in the illustration section. Hair you can add readymade shapes to your PowerPoint presentation like circle square rectangle and other.
-
List will appear on your screen from which you can choose a different Shape that fit perfect for your selected picture
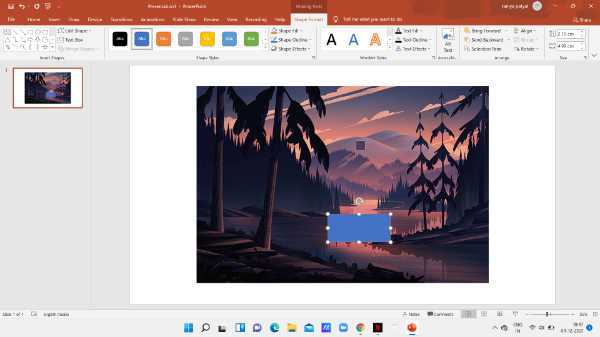
- Now click the specific shape and draw it on the portion of the image that you want to blur. In order to draw this shape, you need to place the cursor of your mouse on one side of the image and press and hold its left click and move it to the opposite side.
-
The shape that you have drawn on the selected portion will change its colour to Blue by default. The shape will also be of an identical colour. and

- In case you want to edit the colour of the shape you can easily use the eyedropper tool.
-
In order to do this again click the shape, A shape format will activate on your screen. Click the option of Shape fill. now you need to press the downward Arrow and from there select the option of the eyedropper tool.

-
When you choose the eyedropper tool, you can easily choose the colour by tapping anywhere on the slide.
- Under the format Tab press the shape effect and from there a drop-down menu will appear on your screen which will show various options.
-
Select the option of soft edges.
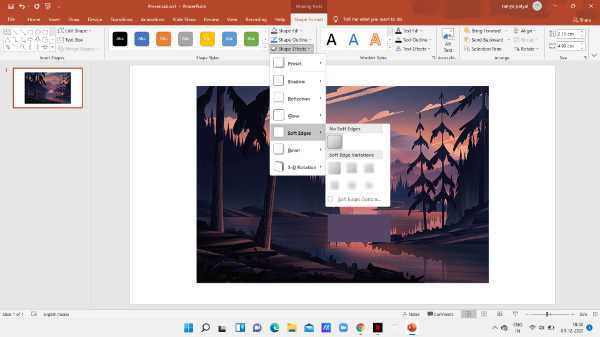
- Now you need to place the cursor to any of the options visible in the soft ages. when you point to your cursor, the PowerPoint will automatically display the preview of the blurred shape.
- Now you are required to group the image and shape. Hold the control key and tap both the objects.
-
Go to the picture format and tap group from the arrange section.

-
Now the two objects are grouped together and you can now modify the background while the blurry image is in the exact location.

Conclusion :-
I hope this article on how to blur a portion of an image in PowerPoint helps you in this we covered an essential guide and the steps mentioned in this article are quite detailed along with pictorial representation.


