How To Add Bank Account In Flipkart For Refund
🕐 1 Jul 23

In this article we will show you how to add bank account in Flipkart for refund, it is in the best interest of the online shopping businesses to have a return and refund policy that is easy to understand, operate and ensure optimum levels of satisfaction to the users.
A person might need to return an item due to defect or damage, bad fitting, wrong size or color, etc. and at times, instead of simply asking for an exchange or replacement, they might wish to get their money back, that is, ask for a refund in lieu of the return of the item concerned.
In this article, we will see how you can add a new bank account in your Flipkart app account or website while placing a request for a refund.
The process is extremely easy and short, hence, if you are unfamiliar with it, keep reading as you have come to the right place.
Step By Step Guide On How To Add Bank Account In Flipkart For Refund :-
-
Go to the ‘Flipkart’ app in your mobile phone or log in to the website on your laptop or PC.

- You will see the home page of your account. Here, you will be able to see the categories and range of products, ongoing offers and deals, sales, etc.
-
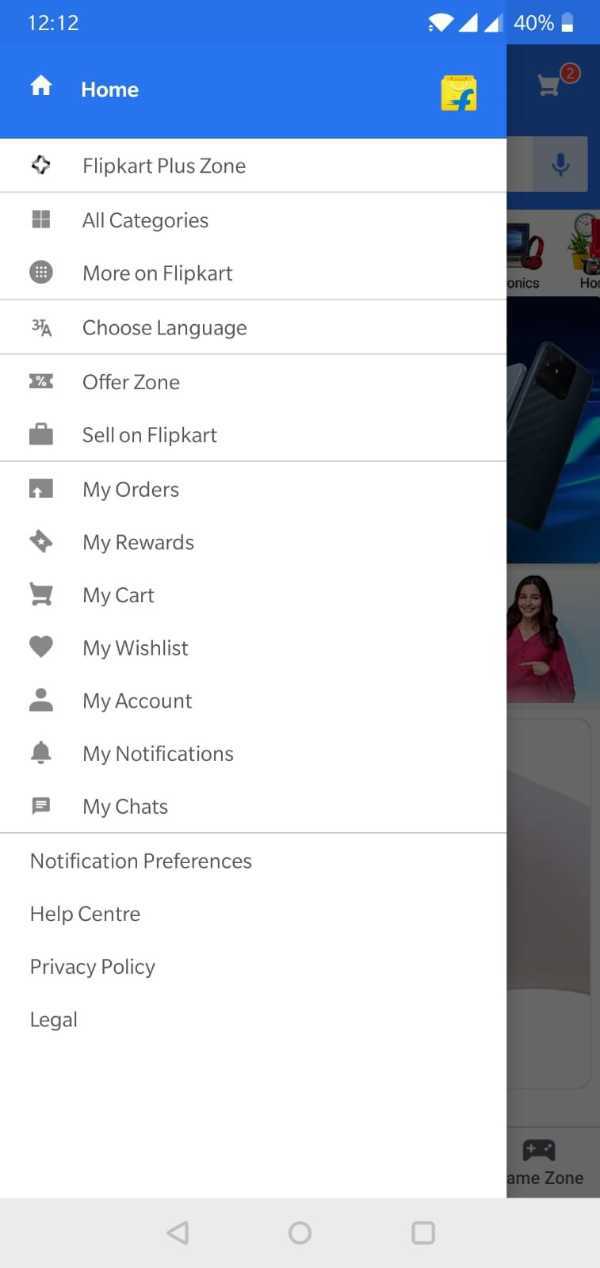
The ‘Menu’ icon is located at the top left side of the interface. Click on this icon (three horizontal lines).

-
From the list of options, select the ‘My orders’ button and click on it.

- This will take you to the next page where you will be able to view all the orders made by you on the Flipkart app.
- Click on the one you wish to return. This will bring you to the next page ‘Order details’. Here you will need to click on the ‘Return’ icon.
- ‘Request return’ page will open. Here you will be asked to fill in details regarding the return of the item. You can also add in a customised message giving further description of the reasons and proceed further.
- Under your ‘Return options’, you will have to choose the ‘Refund’ option.
- Next, you will be asked for your preferred destination for the refund.
- In the list, you will see options like Gift cards, bank accounts, etc.
- Click on the ‘Bank account’ option by pressing on the circle located on the left side of the icon.
- Under the existing accounts, you will be able to see an icon ‘Add new account’.
- Click on the (+) icon next to it. As soon as you do this, you will be taken to the next page.
- Here you will be required to enter the card number, expiry, name of the cardholder, etc.
- Once you are done, you will be able to see the new bank account under the ‘Exisiting accounts’ list.
Conclusion :-
I hope this article on how to add bank account in Flipkart for refund helps you and you found a solution to the problem you were facing and this article was easy to understand and follow


